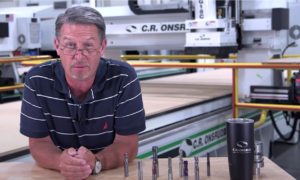
Properly maintained collets ensure your operation runs consistently and will help prevent tool breakage. Chuck Shive with C.R. Onsrud’s Tips & Chips explains how.
Collets have a lifespan of about 3 months (90 days) if used 8 hrs/day. Normal wear, as well as sawdust and/or rosin buildup in the collet, chuck nut, or taper of the chuck assembly can cause bit breakage and/or poor cut finish. Inspect these components daily and replace them accordingly. Properly maintained collets ensure your operation runs consistently and will help prevent tool breakage.
Tool Holder and Collet Assembly
It is very important to use high-quality Tool Holders. The Tool Holders used on your CNC machine have a taper, such as HSK63-F or HSK63-A, that matches the taper inside your machine’s variable high-speed spindle.

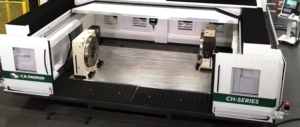
The HSK 63F or 63A Machining Center Spindle is your machine’s main spindle or cutting head. Tool holders for the spindles are not interchangeable. Designed for low torque and very high speeds, the HSK 63F is symmetrically round with a reduced taper size, whereas the HSK 63A has slots in the shank and slots and keyways in the flange and is designed for moderate torque and moderate to high-speed machining.
If the tapers are out of round, oversized, or damaged in any way, the Tool Change will not work properly.
The Tool Holder has four components:
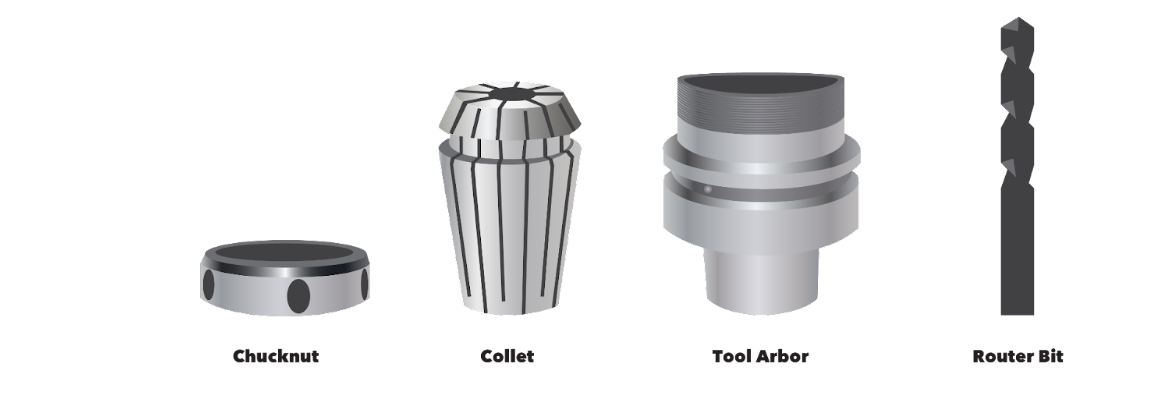
The collets are available in virtually any size, ranging up to one-inch maximum capacity.
Important: The collet goes into the chuck nut. Collets must be assembled to the chuck nut before inserting the collet into the Tool Holder; otherwise, it can become stuck. Ensure all components are clean and in good condition (no damage, wear, or corrosion) before assembly.
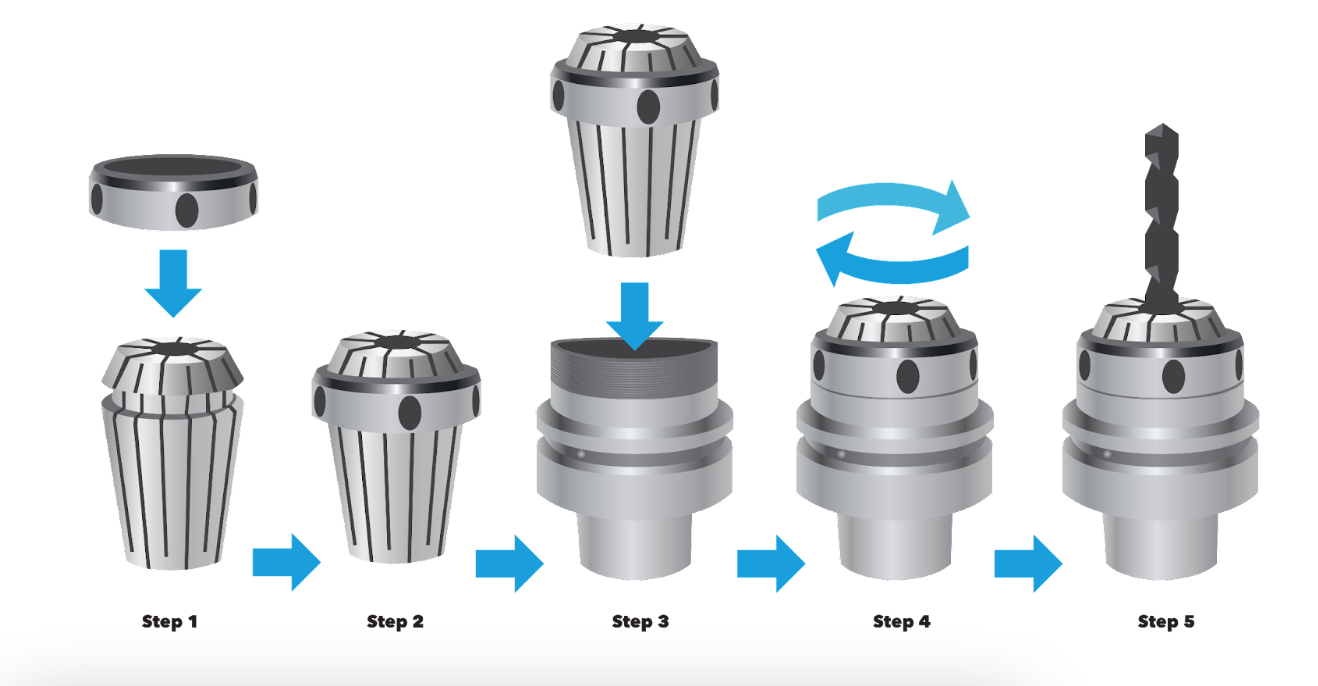
To assembly the collet to the chuck nut
Step 1: Hold the chuck nut in one hand with the threads visible. Face the threads of the nut the same as the face of the collet.
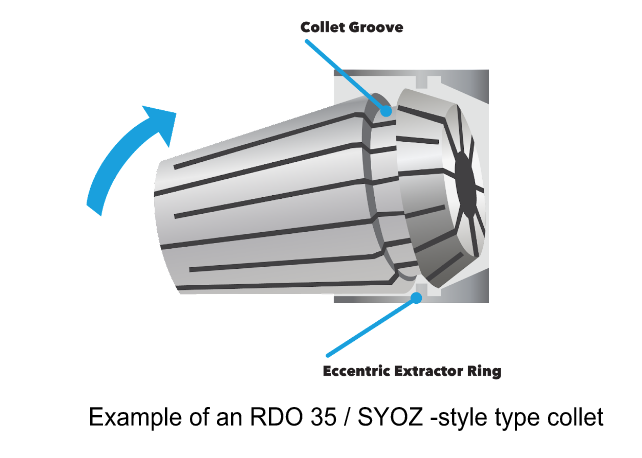
Step 2: Place the collet into the center of the chuck nut. Some collets (such as an RDO or SYOZ style collet) require you to insert them at a slight angle or sideways. Insert one edge of the collet into the chuck nut.
Step 3: Apply a small amount of downward (or sideways) pressure snapping the collet into place. Flip the collet assembly upside down to ensure that the collet holds in place.
Step 4: Screw the collet assembly onto the tool arbor (for quick change spindles) or directly on the spindle shaft (for collet spindles).
Step 5: Insert the router bit into the collet assembly. Make sure the flute fade out of the router bit does not enter into the collet. This can cause tools to have runout and potentially lead to the collet or the router bit being damaged or broken. The tool shank should fill approximately 80% of the depth of the collet. You may need a collet life plug to achieve proper clamping.
Tighten securely. Be careful not to overtighten. Overtightening of the chuck nut can occur with the use of the tool setup stand.
The amount of torque required varies depending on the style of the collet you are using. For example, an ER-32 style collet requires 100 lb-ft of torque. With the SYOZ-25 style, the tool’s chuck nut should have no more than 90-95 lb-ft of torque applied. Specialized torque spanner wrenches are available for purchase.
To remove the collet from the chuck nut
Reverse the steps.
Step 1: Hold the chuck nut firmly in one hand, and grasp the collet with the other.
Step 2: Apply a small amount of pressure pushing at an angle or sideways until the chuck nut separates from the collet.
Apply a small amount of pressure pushing at an angle or sideways until the chuck nut separates from the collet.
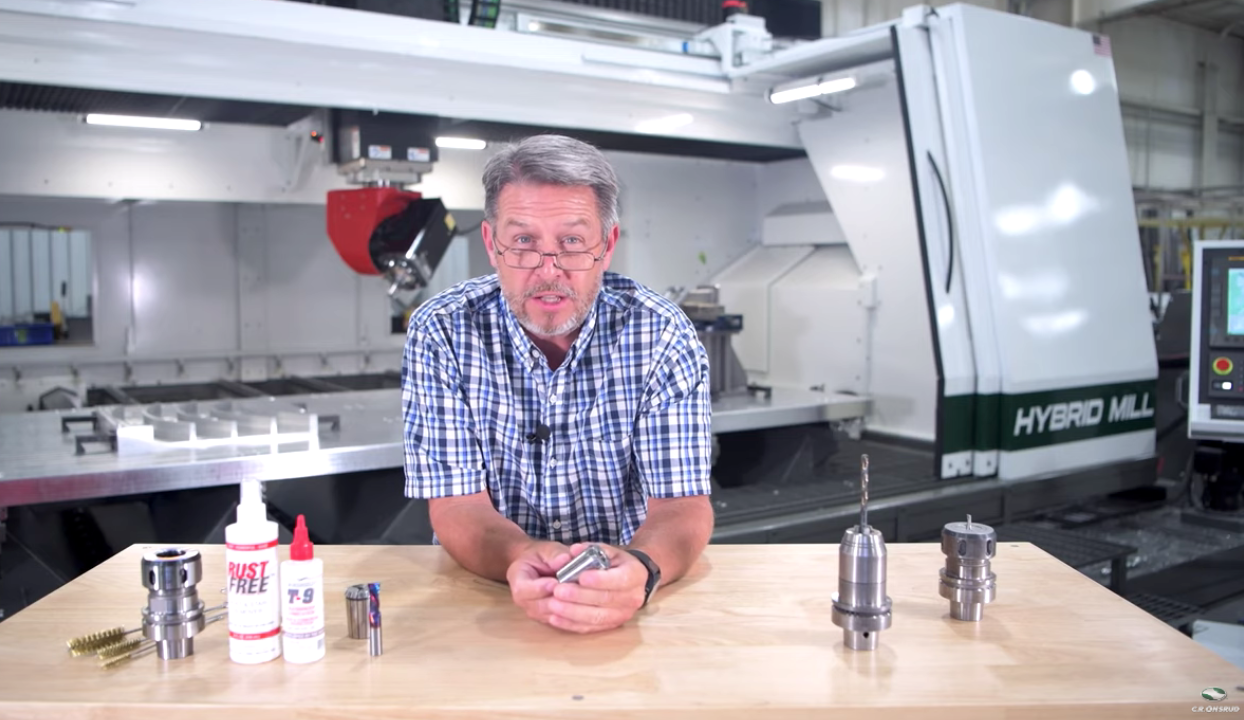
Maintenance
Whenever a bit is changed, break down and clean Tool Holders thoroughly and at least daily.
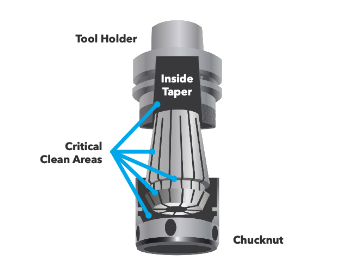
Cleaning is an essential part of collet maintenance as cut material causes the collet and the tool holder as well as the chuck nut and the spindle to come dirty. As a result, your tool starts cutting in an elliptical fashion, which can decrease tool life and cause inconsistency in your routing.
To clean the tool holder, chuck nut, and collet, spray rust-free solvent onto the components and wait a few minutes. Then use a brush (or scouring pad, not sandpaper) to clean the surfaces thoroughly. Rinse with distilled alcohol. Ensure the surfaces are dry and clean. Apply a small amount of lubricant to prevent rusting. Wipe off excess with a dry cloth.
Tighten bits in the Tool Holder securely, but do not tighten so tightly that the collet is forced down into the taper of the Tool Holder, thus distorting the collet and causing uneven gripping of the shank of the bit. Overtightening can also cause damage to the bearing ring located in the clamping nut. Worn collets will cause a bit to break.
Have other tooling questions? Just give our tooling department a call at: 704-508-7000, reach out via email: parts@cronsrud.com, or visit our tooling website: https://www.cronsrud.com/store/index.php
Or, if you’re struggling with any production issues and would like to see if we have a solution for you, please give C.R. Onsrud a call at: 704-508-7000 or reach out via email: info@cronsrud.com. We are happy to help you any way we can.