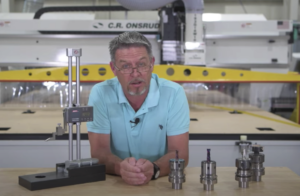
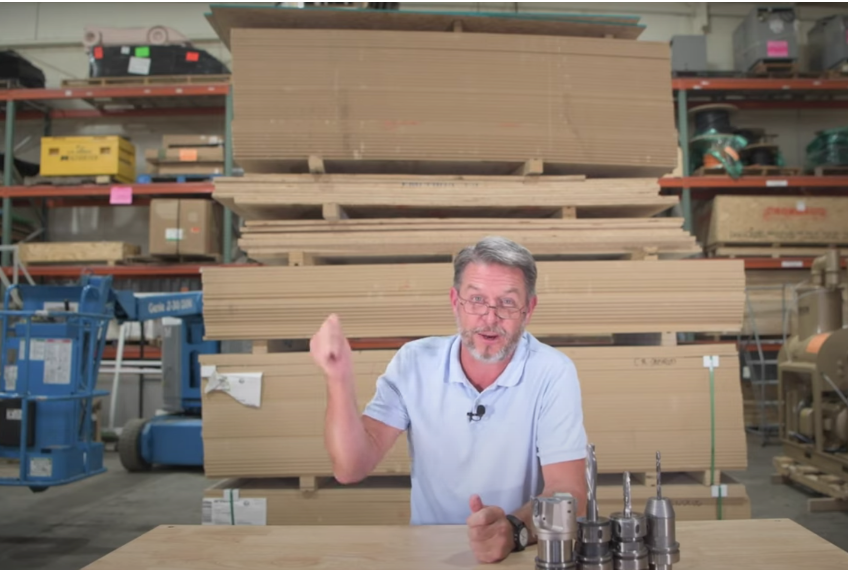
In this post, Chuck Shive with Chips & Tips steps you through the process on how to replace your spoilboard.
What is a Spoilboard?
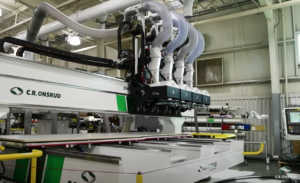
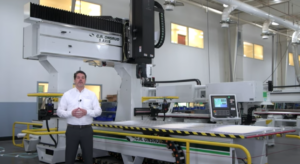
A spoilboard is a removable work surface that is mounted to the top of your router table. It protects your table from the damage that would be caused by router bits cutting into and through your material. For the most vacuum to hold down your material on the machine table, we recommend that your spoilboard consists of a low-density fiberboard (LDF) or ultralight MDF and that you surface both sides of your spoilboard. We do not recommend standard grade MDF due to the vacuum restriction it causes. Most LDF or MDF boards with a density of 35 to 42 lb/ft^3 (pounds per cubic foot) work for most applications.
To replace a spoilboard you need:
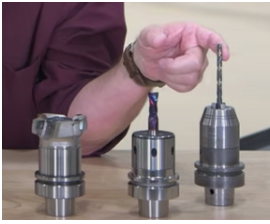
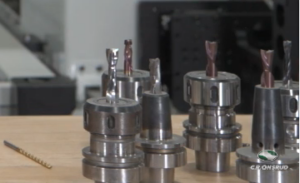
- A surface tool
- ½-inch router bit
- 17/64″ drill bit
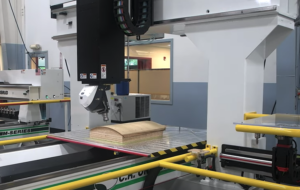
Surface your new spoilboard on top of your current spoilboard. Do not machine your new spoilboard on top of your machine’s table.
- Remove the glaze that manufacturers apply to material during manufacturing. This helps produce the best flow to the surface area of your sheet stock. Surface the bottom of your spoilboard first. Set the replacement spoilboard material on top of the existing spoilboard. Turn the vacuum on and remove between 0.010″ to 0.015″ of material from its entire surface.
- Turn the vacuum off and flip over the newly surfaced material (you may need a friend to help you), leaving the old spoilboard in place. Turn the vacuum back on and cut the material to the desired dimensions to fit your machine table (i.e., horizontal length (X) and vertical length (Y)).
- Drill or route the countersinks holes (e.g., a depth of 0.600″ – 0.650″ using a ½″ router bit). Reference the machine drawing for these countersink holes as well as the clearance holes for your bolts (e.g., use a 17/64″ drill bit for these). Leaving your old spoilboard in place during this operation provides a safety buffer between this drilling operation and your table.
- Using a 17/64″ drill bit, machine 0.005 to 0.010 beyond the thickness of your spoilboard and in the same location as your countersink holes.
- Turn the vacuum off and remove the new spoilboard to a work area. Coat the four edges with sealant (e.g., latex paint). This prevents vacuum loss around the edges so that vacuum is directed at the surface area of the sheet stock.
- Remove the old spoilboard from the machine table. Inspect the gasket around each of the zones of the machine table. Replace the gasket in areas that are cracked, twisted, and/or squashed.
- Place the new spoilboard on the machine table with the surfaced side (performed in Step 1) facing down and align the holes.
- Turn the vacuum back on and screw your new spoilboard down. Rerun your surfacing program (see Step 1). Your spoilboard is now ready for production.
Note: When your spoilboard gets too thin, it will begin to lose part-holding and needs to be replaced. Just give our tooling department a call at: 704-508-7000, reach out via email: parts@cronsrud.com, or visit our tooling website: https://www.cronsrud.com/store/index.php
If you’re interested in improving part hold-down, see our article on double-sided spoilboard flat table cups from BVC and Mike Murphy from AllStar CNC’s 5 Gasketing Techniques.
Or, if you’re struggling with any production issues and would like to see if we have a solution for you, please give C.R. Onsrud a call at: 704-508-7000 or reach out via email: info@cronsrud.com. We are happy to help you any way we can.